2. Click on the green tree icon to display the tree controls

3. Click on the "Points" option in the appearance box.
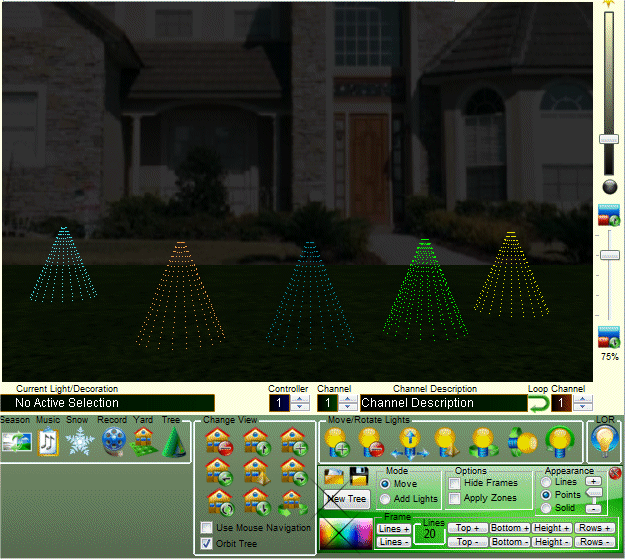
4. Click on the new tree button to add a tree. The default is two rows so it will look like the below example. We need to add rows and lines to fill in the tree.
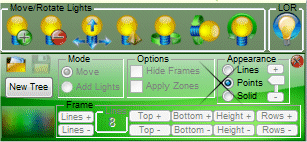
5. In the example below we have added lines and rows using the "Lines +" and "Rows +" buttons to fill in the tree with lights. Creating a tree like this with points is quick and easy. It is especially useful to create a single channel tree for use with the Light-O-Rama sequence editor.

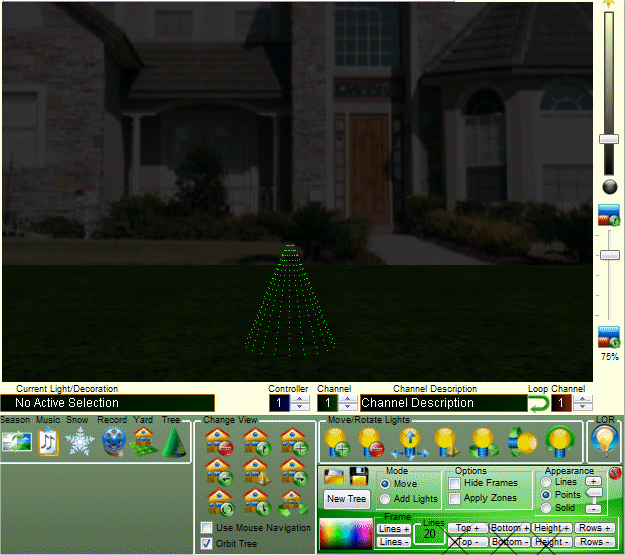
6. You can reduce the height, bottom and top radius to emulate a mini tree.
7. To quickly add more mini trees just click on the "new tree" button. The new trees will have the same characteristics as the first one saving time. In the example below we have clicked on the different trees, then clicked on the color swatch to change the color of the mini tree.